And today is the Ornament Cards!
All of the punched out ornaments are up on Dimensionals. Some are "hanging" on ribbon, which has been taped down on both ends, and some the "string" is drawn.
These two used up some scraps! Love it when you can do that and make it look good!
Below, the two on the left are embossed, the back in white and the front in silver.
Just some pretty, punched DSP...
Below, the two back cards have ribbon. The first front one has Rhinestones on the two blue ornaments and the second front card has Silver Mini Brads in the blue ornaments!
Supplies:
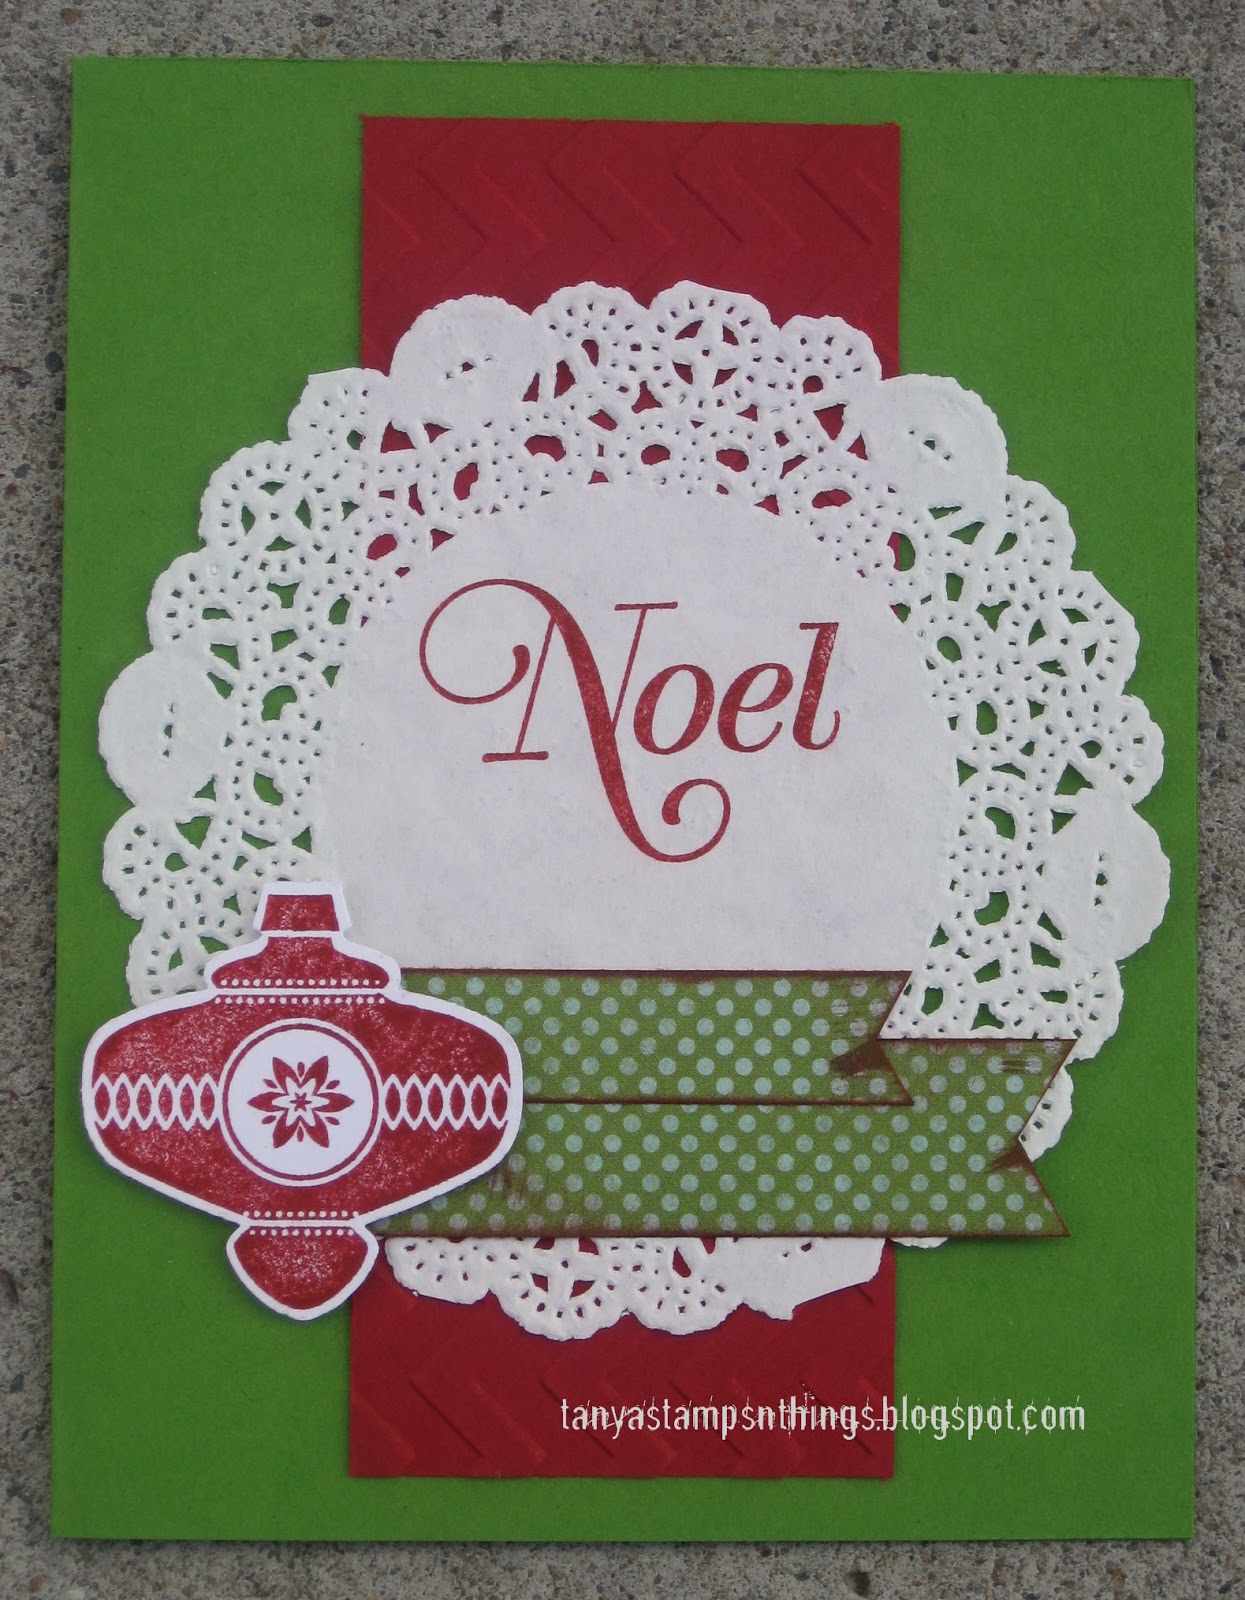
Stamps: Christmas Collectibles, Special Season, Greetings of the Season
Ink: Cherry Cobbler, Old Olive, Chocolate Chip, Coastal Cabana, Island Indigo, Smoky Slate, Versamark, Chocolate Chip marker, Island Indigo marker
Paper: Whisper White, Old Olive, Cherry Cobbler, Pool Party, Coastal Cabana, Smoky Slate card stocks, Winter Frost DSP Stack, Season of Style DSP Stack
Accessories: Silver Ribbon, Cherry Cobbler Seam Binding, Pool Party Seam Binding, White Bakers Twine, White Embossing powder, Silver Embossing powder, Pearls, Rhinestones, Silver Mini Brads, Dimensionals
Showing posts with label Greetings Of the Season. Show all posts
Thursday, November 21, 2013
Friday, November 15, 2013
A Christmas Card!
Happy Friday to you! Always excited for that!
Here's the "December" card from this week's class! I used the current Mojo Monday sketch, and the new ornament set from the Holiday Mini.
Supplies:
Stamps: Greetings Of the Season, Christmas Collectibles
Ink: Cherry Cobbler
Paper: Gumball Green, Cherry Cobbler, Whisper White card stocks, Epic Day DP
Accessories: Tea Lace Doilies, Christmas Ornament Punch, Hexagon Punch, Chevron Embossing Folder, Dimensionals, Big Shot
Friday, December 21, 2012
Teacher Gifts
Since Christmas break started this week, the kids needed to have a gift for their teachers! We had made some fudge but I needed a secure way of getting it to school, better than a little paper plate covered in plastic-wrap! I gave away all our holiday tins last year but I found these two boxes and thought I could make something cute!
So here's the before....
and here's the after!
You know, the trouble with me and gift giving is that by the time I get the second package started, I'm too darn tired to care...can you tell which one was created first? mmhmm...I promise to work on that. How's that for a new years resolution?
ANYWAY, I pulled out my stash of retired Christmas paper and found some things I liked. I did the little brown box first, and then found this very pretty pattern to dress up the clear box all on its own! The boxes are filled with treats, a card from the kiddo, and a little note letting them know what the food is, haha!
Supplies:
Stamps: Greetings of the Season, Delightful Decorations
Ink: Real Red, Old Olive
Paper: Vanilla card stock, RETIRED Deck the Halls DP, Dashing DP
Accessories: Ornament Punch, Linen Thread
Find more:
3-D,
Christmas Cards,
Delightful Decorations,
Gifts,
Greetings Of the Season
Wednesday, December 19, 2012
Christmas Cards- the end!
...this year, of course. There will be more next year, haha!
The last of my cards were sent out yesterday!! And honestly, we are 95% ready for Christmas! Now I need to focus on baking... How are you doing?? Anyway, here are the final cards, plus a little bit of instruction!
The three on the left are made up entirely of the stickers in the Merry Moments Simply Scrappin' Kit, and a bit of ribbon, a pearl, a few punches, and some greeting stamps.
The three on the right are all made using one stamp set, and even less accessories. But I had a request for embossing, so we used the top one for the class. (and the green one, but not the on with the Cherry Cobbler ribbon!)
Supplies:
Stamps: Greetings of the Season, Come to Bethlehem
Ink: Cherry Cobbler, Basic Gray, Versamark
Paper: Old Olive, Basic Gray, Very Vanilla, Whisper White, Merry Moments Simply Scrappin' Kit
Accessories: Crochet Lace Ribbon, Cherry Cobbler seam binding ribbon, Pennant Punch, Basic Pearls, Dazzling Details
So, you might be wondering how I used the whole wise men stamp but didn't emboss the star as well. This is how- you just pour the embossing powder carefully, and then tip it away from the star to dump off the excess. You can do this partial embossing with all sorts of images, you just have to be careful about it.
But, in this card, I didn't want the star just a flat gray, hanging out there, I wanted it to stand out! After all, the Christmas star is the real point of this image...! So I used the very fun Dazzling Details to make it stand out much better, and it does! It just takes a while to dry, so with a class, we did this one first, haha!
And here's a closeup, just for you!
Thursday, December 13, 2012
Christmas Cards #3
Well my cards are finished- addressed and everything, just waiting for me to drive to the Post Office and get postage! How are your holiday cards coming along?
Here is the third installment of my Christmas Card class, just in case you're still looking for ideas! *grin
You can see many of these are the same card, they just look different with the variation of paper. Sometimes we drew the "string" or "hook" and other times I used actual Baker's Twine!
Supplies:
Stamps: Delightful Decorations, Greetings of the Season, Come To Bethlehem (words over tree)
Ink: Basic Gray, Cherry Cobbler, Old Olive
Paper: Very Vanilla, Cherry Cobbler, Basic Gray, Old Olive, Simply Scrappin' Kit
Accessories: Ornament Punch, Cherry Baker's Twine, Crochet Lace Ribbon
Monday, December 10, 2012
Tags for Christmas!
I must apologize for not posting more, blogger has been giving me issues and ya know, the holidays are busy!! Anyway, back to the projects! *grin
Remember a few weeks ago I had a workshop? My friend, the hostess, is interested in making tags for Christmas gifts. I demonstrated one and brought some other very quick tags to show. (They also made a nice little hostess gift for her!) My mom had attended a stamp camp several years ago now, and I was inspired by what I remembered from those tags, especially the cute candy one!
Tis the season for gift-giving, maybe you'd like some ideas for very quick, simple tags to attach to whatever it is you're giving! Also, it gives you a reason to stamp while crossing off that holiday to-do list!
Supplies:
Stamps: Greetings of the Season, Delightful Decorations, Sweets for the Sweet, Frosty Friends
Ink: Bashful Blue, Wild Wasabi, Lucky Limeade, Real Red, Basic Gray
Paper: Bashful Blue, Wild Wasabi, Real Red, Baja Breeze, Whisper White, Very Vanilla
Accessories: Whisper White & Cherry Cobbler Baker's Twine, Designer Label Punch, Ornament Punch, Tag Punch, Dazzling Details
Monday, November 19, 2012
Upcoming Card Classes!
I just needed to announce my upcoming Christmas Card class, for anyone interested! I made this flyer using My Digital Studio software. Click on it to see it bigger, but the details are also found below.
We'll be using the Simply Scrappin kit found in the Holiday Mini. We'll make 25 cards for $25 and I don't expect it to take more than 2.5 hours. I'll be holding my event on Friday, November 30th, from noon-3pm. And because I need to order the kit and prep the supplies for you, I'll need your RSVP and fee by November 25th. My friend Ellen will be hosting the same class the night before, in case you needed more information on that event.
And! Because I am enjoying the chance to show other ways to use your products, and because you'll take home some left over kit (if you choose to) here is a page I made with some of what was left over from my kit! These photos are from last Thanksgiving Day.
Supplies:
Ink: Bravo Burgundy Marker (coordinates nicely)
Paper: Simply Scrappin Kit, Very Vanilla & Basic Gray card stocks
Accessories: Cherry Cobbler baker's twine
Subscribe to:
Posts (Atom)


.jpg)
