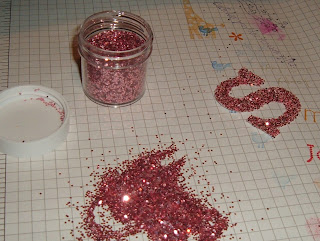
 The instructions say to peel off the back part and firmly press it onto your project before adding glitter or beads. (I don’t have beads) I read something another person experienced that made sense to me...if you wait and add your glitter to your entire project, then everything ends up sparkly. So I added glitter FIRST.

 …annnd now I’m thinkin’ there’s a REASON they say peel off the back first! Otherwise you are wrestling with a double-sided-sticky-glittery mess that wants to stick to itself! It is VERY hard to put onto your project at this point...!
 HMM. I may end up with a love-hate relationship with these lovely sticky cuts letters… I’ll get back to you on that as I play more. I still really love the idea of them. I’ll just have to find a way to make them work for me. Maybe just on one-layer projects...
 And the chunky glitter is actually "chunky". You can pick up each little sparkle by pressing your finger on it and put it back in the little cup! hardly a mess! Love that!!!
 So here's my finished page. What do you think?
Recipe: Barely Banana 12x12 base, Hostess Prints DSP (pretty in pink), Berry Bliss DSP, Sticky Cuts, Chunky Sprinkles Glitter

No comments:
Post a Comment
Tell me what you think!